Thursday, September 30, 2010

Happy Birthday Sweetie

Today is my husband's birthday and I made this card for him. I was even prepared, and made it well before we moved so I would be sure that it didn't get put off and become last minute. This card uses Taylored Expression's You're My Hero stamp set and my Stars Nestabilities. The paper is from The Angel Company's Cha Cha collection. I still can't believe that it's only $4.95 a pack.

The bottom panel was made using the Running Water Fiskar's border punch, and then I went in and punched small stars our in each scallop to match the theme. Even the Nestabilities stars are something special. They're popped up and three dimensional. I learned about making the stars pop from someone else's blog a while back ago when I was blog hopping, and hadn't had a chance to use it until this card, but I really like the effect.


Tuesday, September 28, 2010

Batty Good

This card is made using The Angel Company's Batty Good stamp set. I just think these guys are so cute, and this card came together rather quickly once I had the sketch idea.

The bats are colored with Copic markers C5, C7 and C9 and the moon is colored with YR21, YR 23 & YR24. I traced around them and cut them out by hand. I punched a hole out of the orange paper with the Super Jumbo Clever Lever punch and nestled the bats up to the cut-out. The ribbon came from Target's $1 section last fall and went perfectly with the self-stick black rhinestones a friend introduced me to. Everything was a little too clean, so I stippled some black ink around the edges of the orange.

Sunday, September 26, 2010

Quick Thank You

While in the process of moving, my friend Sue's husband, Mike Vanderwalker, did us the favor of reading and explaining our survey to us. Mike has been a surveyor for years, and pointed out some things that we should address before the move so as not to cause problems later on. To show our appreciation, I made this card for him to go with a little gift card that we picked up.

Since we're in the middle of moving, I was limited to supplies and came up with this quick card using The Angel Company's Aged Ornaments stamp set to make all of the pattern in the card. Then I added some Christmas Red Stickles as accents with a little red ribbon, and a small sentiment panel using the Thinking of You set and a small scrap of red paper.

Thursday, September 23, 2010

Halloween Witch

This is another card I made when I was playing with The Angel Company's Spiders are Seen stamp set last week. The image panel is colored with Copic markers YG03, YG06, YR08, Y17 and BV08. I went over the dress and made the buttons on the boots with the colored (not clear) Stardust Glittering Pens to give it some shine. The image panel was cut using Nestabilities Labels Three dies, with a Giga Scalloped square in between to give it a different look. The right corners were punched with Martha Stewart's Bat corner punch, and some patterned paper and buttons I had lying around were used to complete the left-hand side.


Tuesday, September 21, 2010

TE Blast From the Past Blog Hop - Watercolor Flowers

Blast from the Past Blog Hop


For the second time, I get a chance to participate in Taylored Expressions' Monthly Blast from the Past Blog Hop.

This is a card that my Create a Bunch group made during lunch in our July class (yes, I'm actually that far behind in posting). For this one, we used the Discover Your Wings stamp set. This is a very versatile set, filled with flowers, butterflies, dragonflies and sentiments. For our card, we used watercolor crayons as our only coloring medium (with the exception of black ink for the sentiment).

The background is made from scribbling on an acrylic block with yellow and orange watercolor crayons, spritzed with water and smeared on damp paper. Then we colored on the rubber stamp with the watercolor crayons and spritzed the stamp to activate the paint and stamped. For a finishing touch we added some Stardust Clear Gelly Pen (far and away the classes favorite embellishment tool) to the flowers and some punched butterflies.


To see what stamp sets other bloggers used, click on the links below:


Happy browsing.

Sunday, September 19, 2010

Sweet Peas

Here is one of the cards I made when I was visiting Chelsea last month. I did all of the coloring at her house, and then had one big bout of stamper's block when I brought it home to make into the actual card. Fortunately for me, the retirement card from my last post seemed to have cured the stamper's block and also provided me with the perfect background paper for the image.

The stamp is from Papertrey Ink that I picked up when I went to the CHA consumer show, and has made me somewhat of a convert. When I was talking to someone about acrylic stamps and how I have so much trouble with them, and much prefer rubber stamps that use the cling-mount system, she said that she felt the same way, and that Papertrey was one of the very few companies she felt made acrylic stamps that gave quality images when stamped. Now that I've tried them, I have to say I agree. So, while I am sure that I won't prefer acrylic stamps over all to real rubber, I have at least found a company that makes some acrylic stamps that make a good impression.

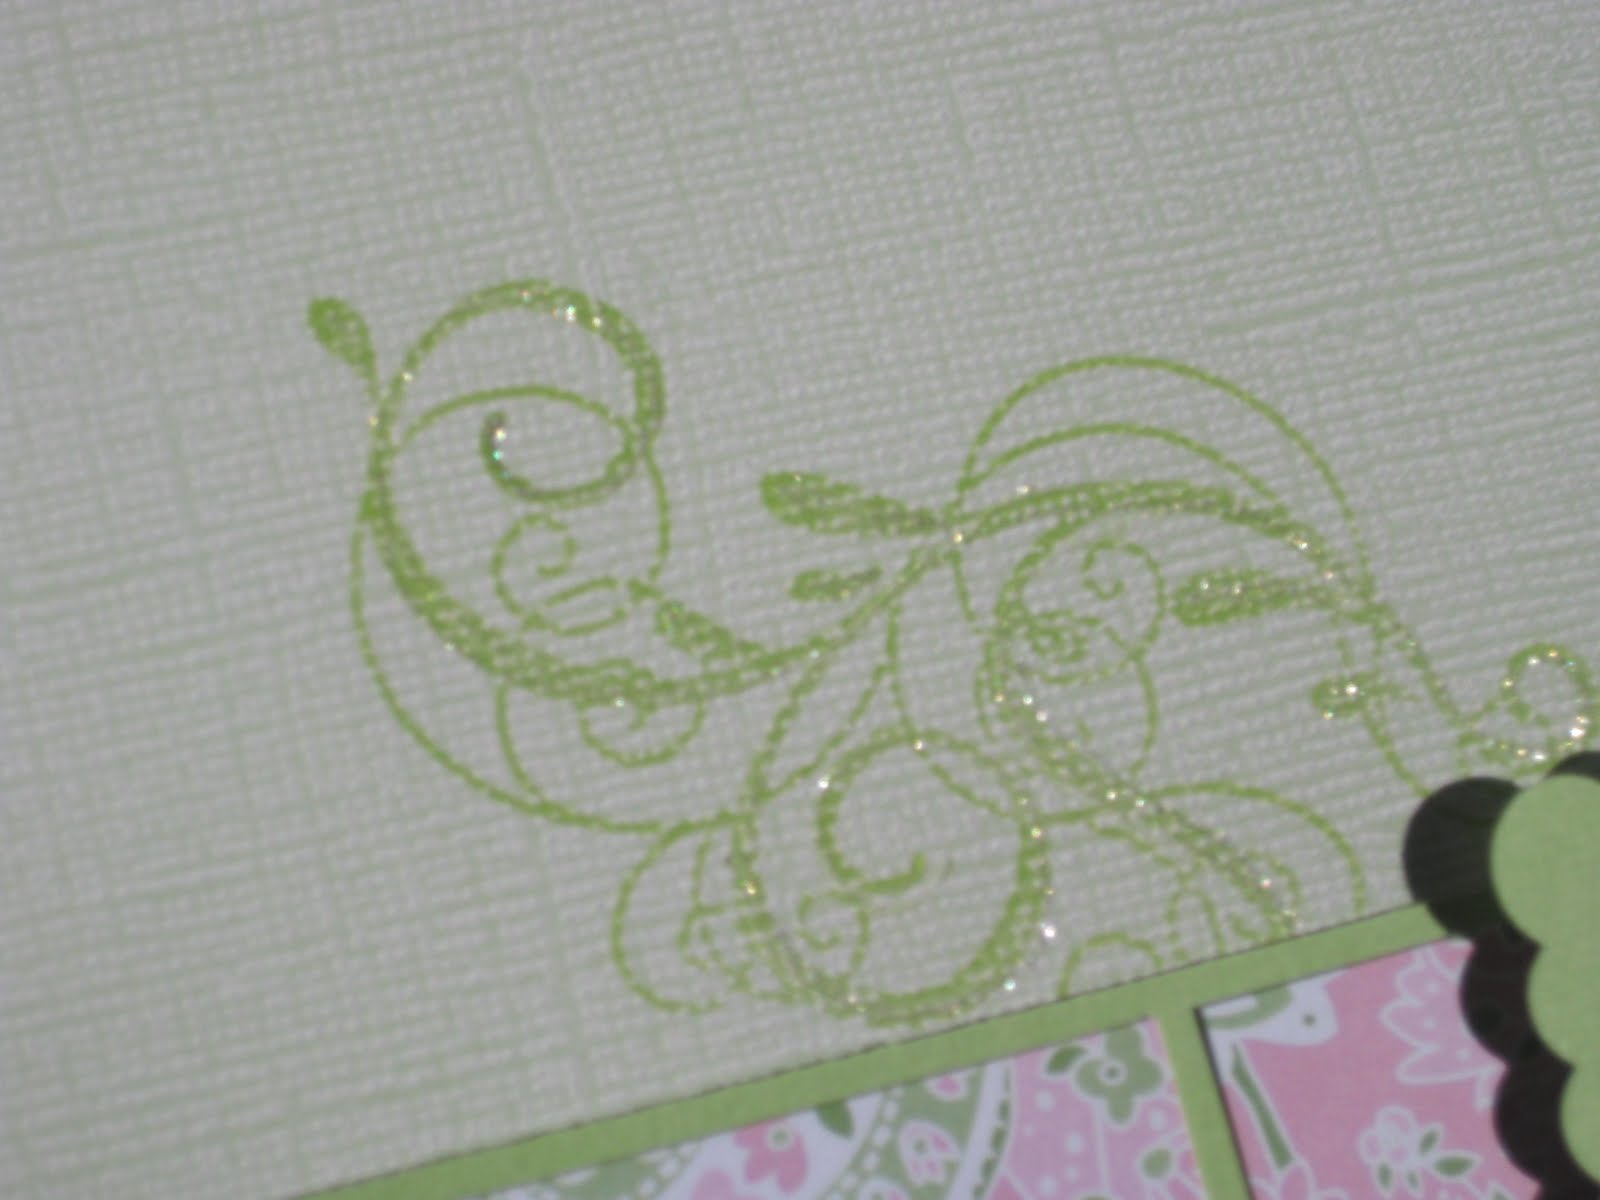
Now back to the card credits. The stamp is Papertrey's Year of Flowers: Sweat Peas set, colored with Copic markers: RV10, RV13, Y0000, Y11, YG11 & YG13. The green pattern behind the image panel is from DCWV's The Blossoms & Butterflies Stack that my friend Yuki gave me when she visited in July, and the background is the Core'dinations Garden Gate paper from the Whitewash collection. I added a little pink ribbon and some gems to the top and bottom to balance it out a bit.

Thursday, September 16, 2010

Pink and Green Retirement Card

One of the girls from work is retiring, so I was asked to make a large card for the group to sign. For this one, I pulled out my left-over paper from the Mother's Day card my stamp group did in April.

Both of the greens are Core'dinations' Garden Gate paper from the Whitewash collection, just a utilization of each side of the paper, and the pattern is Brooke Paisley from Making Memories' Simply Fabulous collection. The swirl is stamped in Chartreuse Palette Ink with The Angel Company's Fancy Curls stamp set and sparkled-up with the Clear Gelly Pen. Since I don't have any retirement sentiments, I typed one up on the computer and cut it out and added weight to it with some gems.


Tuesday, September 14, 2010

Spooky Sketch

I was blog hopping over the weekend, and got another chance to participate in a sketch challenge over at Taylored Expressions blog. This stamp is another one from The Angel Company's Spiders Are Seen stamp set. I've been having so much fun with it. It was a very easy card to make. I just used a bunch of 1 x 2 pieces of paper from TAC's retired Simply Spooky paper collection that I had in my scrap bin, and the Marth Stewart spiderwebs border punch. The whole thing was very quick and easy.

Sunday, September 12, 2010

Spiders are Seen

This is the first card I've made using The Angel Company's Spiders are Seen stamp set. The purple spiderweb paper is left over from last year's stash of paper, and the green is from TAC's Angelee paper collection. The webs in the stamped image are highlighted with clear glitter pen to mimic the paper, and the legs are colored with Copic Markers G21 and V17. I punched the spiderweb borders with the Martha Stewart spiderweb border punch, and added a splash with some polka-dot ribbon and a few gems that I colored with the V17 Copic marker.

Thursday, September 9, 2010

Are you ready for some FOOTBALL???? - Card for a Cowboys (Tony Romo) Fan

Today kicks off the beginning of football season. Tom has been having withdrawals and is VERY excited about football starting up again. My friend Connie and I are looking forward to football too. We don't root for the same team, but that's what makes it even more fun. Connie is a BIG Tony Romo fan, so to kick off the season, I decided to make her a little pin.

I used the Star Nestabilities dies to cut stars in various sizes for the pin. I drew around one set with a White Gelly Pen just like in the logo. Then I laminated the pin by cutting a large star our of a heat-set laminating sheet and running it through my laminator. I put a pinback on it, and it's ready to go.

The card is made pretty much the same way. I started with a large piece of paper and scored it into three equal parts. For the front, I folded one piece over the other and cut a star out of both pieces, so you could see into the center of the inside of the card. Then I ran a piece of brown paper through the Cuttlebug Tiny Bubbles embossing folder and cut two pieces into the shape of a football. I placed these two pieces back to back and adhered with a piece of fishing line in between them. Then I added some white paper to the ends and drew on the laces. The whole football is suspended in the middle of the star on the front cover with the fishing line (and if you twist the fishing line before closing the card, it will spin when the card opens, so it looks like a football thrown in a spiral (although in slow motion). Petty cool. The pin is stuck into the inside of the card (with a hole cut out so the pinback goes through the back and doesn't push the pin up into the space where the football is. The sentiment is done on the computer.


Check out the saying I put on the pin :) I'm sure that given the opportunity, Connie (and lots of other ladies out there) would gladly jump on Tony.

Tuesday, September 7, 2010

August Create A Bunch at Lunch Baby Card

Even though I haven't posted as much as usual about it, my lunchtime classes are still going strong. Last month, we created web books, just like the ones I posted last year that we made at the Tinley Park Expo, and these super simple baby cards.

I got the idea for the card from an ATC I got from Angi Healy at Rita's spring gathering. I used the Scor-Pal to create lines around the panel of striped paper from the The Angel Company's Lilly Anna paper collection. Then we punched the bib from the Giga Scalloped Circle Clever Lever Punch and punched a smaller 1" punch out of the scalloped circle. We pierced each scallop and tied a ribbon to the top. The sentiment is from The Angel Company's retired Savvy Sayings set, that was one of last year's hostess sets.


Amazingly, everyone finished the cards and web book in record time. This class was about 20 minutes shorter than usual, so everyone had time to chat as well.

Sunday, September 5, 2010

Blossoms and Blessings

My first "must have" stamp set from the recently published Angel Company catalogue. As soon as I saw samples posted online from girls at seminar, I knew this was one that I had to get. Of course, with plans in place for the new house, I didn't get a chance to purchase it immediately, but lucky for me my friend Chelsea - Catalogue Designer Extraordinaire (see Chelsea's Creative Corner blog on my sidebar) had me over to play a few weeks ago, and she let me use her Blossoms and Blessings set to make this card.


It's an acetate card, with the daisies stamped in White Opaque Staz On and the inside sporting a black panel to set off the white blossoms. The flower on the peach panel was colored with Copic markers


I haven't played with acetate in a while, but it was a lot of fun, so you may see more coming.