Friday, November 27, 2009

Black Friday! Shop 'Til You Drop!


If you've been following my blog for a while, or been part of my newsletter in previous years, you know that my sister and I consider Black Friday to be it's own holiday. It started out a few years ago when we said "if we happen to be awake early, we'll go and check out the sales". Turns out the two of us woke up every hour on the hour all night long, until I finally tip-toed to her room at 4:00 am, cracked open the door and whispered "are you up?" to be greeted by a flurry of activity in the dark. We went out together and had a lot of fun and have been doing it ever since.

Last year, I decorated coffee sleeves for the occasion. This year, I was more organized - and I made organizers. You can find them all over the Internet, but I got my instructions from Vicki Hook's Christmas Planner Tutorial.

The pink one, is for my sister and takes a quote from an e-mail we exchanged earlier in the week "Who needs sleep? Just give me coffee and let the shopping begin!"


The aqua one is mine and matches my purse.


The paper comes from JoAnn's Peppermint Forest stack that my Mom picked up on sale and left for me to use. The stamp is from Hanna Stamps, Vogue Hanna set that I got just because it reminded me of my sister, who really does consider shopping to be one of her hobbies.

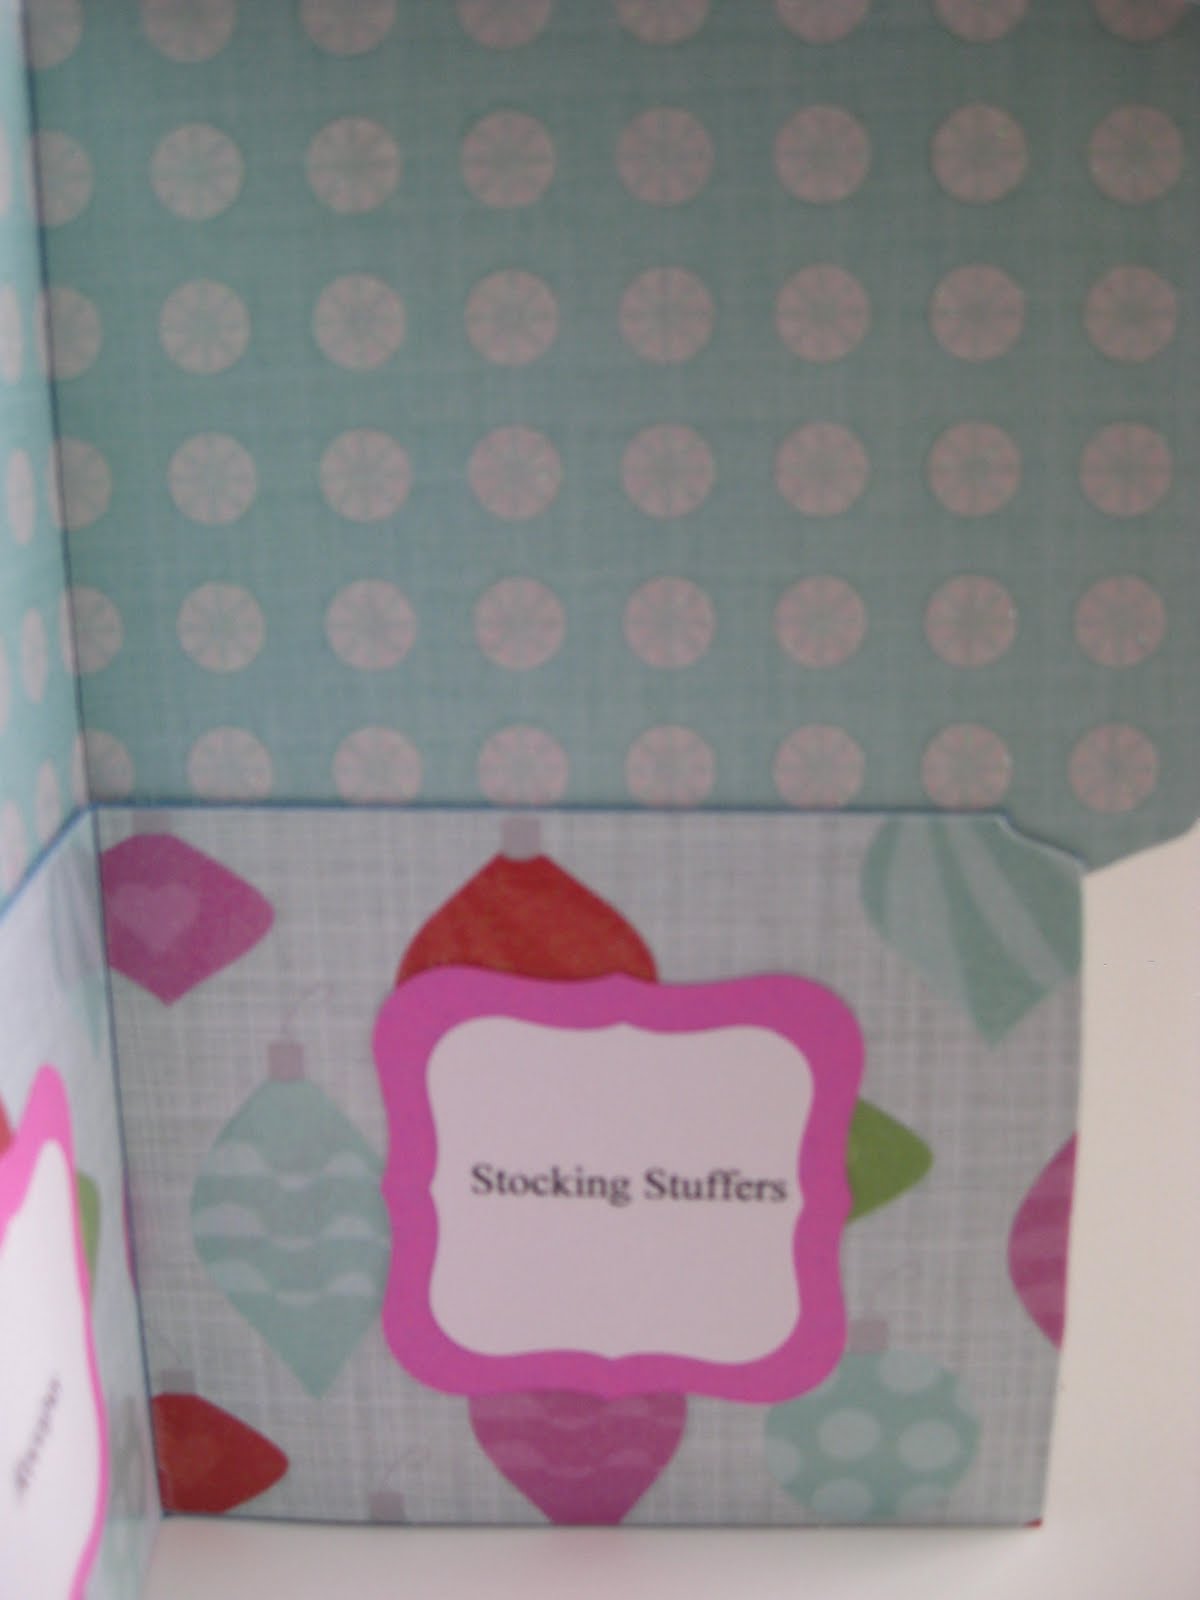
I colored the images with Copic markers, in so many colors it's probably too much to list them all, but predominantly the jeans for both girls was B34 with a little B32 to lighten them up a bit. The pink girl has a paper pieced shirt taken from the background paper and her hat is R83 and R85. The "magenta" on the aqua girl is a combination of RV34 and V01 with the accessories done in G00. The inside labels are printed on the computer and cut with the Labels 1 Nestabilities dies.


Thursday, November 26, 2009

Family, Food and Friends - Happy Thanksgiving

Happy Thanksgiving everyone. Here's a little card I made for the occasion that uses The Angel Company's Reece paper collection, the retired Family, Food and Friends set, the Give Thanks set and a ton of punches and Stickles.


Mom loved this card so much, she made a bunch of them for her friends, but she turned the card candy (graduated punch) section into a magnet that could be removed from the card and used on the fridge.

Thursday, November 19, 2009

Girls Rock Party Favors

Two things as follow-up to my post about the GTA Rocks! The first is that I was blown away when most of the people in the band said they couldn't open the bags and eat the rocks because they wanted to save the whole package. I even had someone tell me it was one of the best gifts he ever got. That's quite a statement from a bunch of hardcore hard rockers.

In addition, the rocks inspired a friend of mine and her step-daughter. They were in the process of planning a rock and roll themed birthday party. At the Stamp With Me night I had a few weeks ago, we talked about various party ideas and came up with the idea of purchasing a bunch of blow-up guitars and microphones from the party store and having the girls dress up and take pictures in rock gear with the props. They would get some pre-cut picture mats and the girls would decorate them with stamps, markers and glitter pens and then the photos would be added. It would count both as an activity and a party favor. This past weekend, they came over and went through all my music themed stamps and picked out the ones they wanted to use. Then they saw my post on Sunday with the GTA rocks bags and decided that they would make those as well using each girls name on the package "-----" rocks! All this positive feedback makes me feel like I rock too!

Sunday, November 15, 2009

GTA Rocks!


My husband's band, Grand Theft Audio, a.k.a. GTA, is in the studio today recording their first demo CD. The whole band is excited and it's rubbing off! I made these little treat bags for everyone filled with chocolate rocks we found at The Southbend Chocolate Company. The toppers have the recording date and information on the back so they can be kept as souvenirs. I doubt that the guys will keep the souvenirs, but the singers might, and it just seemed like a fun idea in the spirit of their excitement.

To decorate the front of the toppers, I used The Angel Company's Kamalaht paper collection, which was retired, but is available for a limited time. This paper was from the Classic Soar With It Collections, that are very similar to Basic Grey. I stamped the background with T.A.C.'s retired Music Notes stamp and used the retired Distressed-bet set for the "rocks". The GTA is cut using the Graffiti Sizzix die.


If I've sparked your interest in Tom's band and you'd like to see information, you can go to his MySpace page. He's even got some videos that I took of their first gig posted (I had heels on and was crouching on the floor in front of them, so you'll have to ignore my shaky camera skills.)

Friday, November 13, 2009

Pink and Green Trees

No post last night because I was holding a stamp a stack at The Art House. We had a great turnout and everyone had so much fun that they wanted a second class. So we're holding another Christmas card workshop on Wednesday, December 2nd. This is a sneak peak of one of the cards we'll create in that class. I used Heather Scott's Monday sketch challenge this week. I've noticed that pink and green are trendy colors for this season, and I thought I'd try my hand at it.


My card uses Ki Memories's Joyful Twinkle paper and The Angel Company's stamp set Holiday Cheer with snow flakes from Winter Tags. The pink ornaments in the tree are colored with my RV02 Copic marker. I couldn't find a light pink paper that would match properly either, so I just colored the edges of a piece of white paper with my RV02 marker too and now it matches perfectly.

I will post the Christmas cards from last nights class later, but, fall is my favorite season, and I'm not ready for it to be over before Thanksgiving gets here, so I'll post those cards after Thanksgiving.

Tuesday, November 10, 2009

Another Turkey-day Card

If you read my last post, you know that the card I created there was inspired by a fall coffee promotion at Starbucks. I took my card to work and showed it to my coffee-mate Jen and then we took it to the coffee shop with us to compare it to the original display. While we were comparing it, Jen said that she preferred the actual bag of coffee over the display and said I should create a card that looked like that. So with the challenge issued, I came home and made this card.


This card also utilizes the turkey template I made for the card in my previous post. (Hey, once you've gone through the trouble to make it, you might as well use it, right?) And in fact, all of the colors and stamp sets are the same as my previous post with the exception of the sentiment that came from The Angel Company's Thinking of You Hostess Level C stamp set.

I'll have to take it to work tomorrow and see it if meets with Jen's approval. Could be difficult, since her suggestion was to add a line of small turkeys behind the large one, and that just wasn't going to work out.

Sunday, November 8, 2009

Thanksgiving card inspired by....??coffee??

Yep, you read right. This card was inspired by coffee. A friend and I go to Starbucks consistently to catch up on things with each other. On this visit, our Starbucks had it's fall coffee promotion. The bags are in fall colors and have a turkey on them, and the display is sort of the reverse. I thought swirls on the display turkey were really neat, so I came home and made this card.


In order to make the card, I had to create a turkey. I searched images on-line until I found one I liked, adjusted the size, and printed it out. I cut around it and used the cut-out as my template to cut my cardstock. Then I used The Angel Company's retired Fantasy Flourishes set to stamp one layer of flourishes in Raw Sienna Palette Ink and then a second layer in Burnt Sienna Palette Ink. I ran the background panel thorugh my Big Shot with the Flourishes Impressabilities plate and cut the brown paper behind the turkey with my Labels One Nestabilities. I added the Turquoise Stickles to pick up the blue in the ribbon and stamped the sentiment in Burnt Sienna with The Angel Company's Give Thanks stamp set from the Inspriation Avenue magalogue.

Thursday, November 5, 2009

Leafy Thanks


This is a card made using Cut N Dry foam, The Angel Company's retired Luscious Leaves stamp set and the Thank U set in the current catalogue. I demonstrated Cut N Dry Foam at the Tinley Park Rubber Stamp Expo in September, and made the background panels you see on this card during my demonstration. I completed the cards by adding the thanks panel and a bunch of leaves I made with leaf punches. This card was created in a matter of minutes.

If you're not familiar with Cut N Dry Foam, it is a piece of foam you can use to make your own personalized ink pad for a certain stamp. You stamp your image on the foam, and then use re-inkers to color the image on the foam in in the colors you want your stamp to turn out. Then you line your stamp up with your inked image on the foam and use that as your stamp pad. It's a great way to get multiple colors on a stamp without having to color it in with markers every time, and it's perfect for when you need to mass produce a bunch of the same card, like I did with this one that went out to everyone that visited me and signed up for my mailing list at the Expo, or for Christmas cards where you want the stamped image to have more than one color.

Tuesday, November 3, 2009

Be Marvelous Fall Card


This is a card I made from one of Heather Scott's sketch challenges from a week or so ago. I got the Halloween Set 1 from Rubbernecker Stamps at the Rubber Stamp Expo in September and have only now had a chance to use it. (I spent all of my October playing with the Spooky Boys and Spooky Girls stamp sets and my Copic markers).

This card also uses Copic markers for the leaves on the tree. It was so simple and so fun to randomly put dots on the tree and the ground to represent the leaves and gave it a real fall look. I used Copic marker colors YR68, $29, G24, BV08, E47 and Y28, which go wonderfully with The Angel Company's Penelope paper collection that I used as the background. The sentiment is from The Angel Company's retired Be stamp set.

Sunday, November 1, 2009

Vintage Santa Sketch Challenge


This week I had a chance to play along with Heather Scott's sketch challenge. This week she's giving away Blog candy, but that's not why I participated. I'm a big one for sketches. I'll make my own sketches before I start a project, I'll use sketches others post online, or I'll see things in magazines and make the sketch from a card someone else created and then store them away for when I get a chance to play. It seems to make my creative time more efficient.

My card is made with the Vintage Santa and Trendy Greetings stamp sets, combined with Reece patterned paper.

Because Vintage Santa is a collage stamp, this card comes together very quickly, and let's face it, sometimes those are the cards that you really need.

Saturday, October 31, 2009

Happy Halloween!


This is one of my favorite things that our neighbors do.

We live in a condo complex and a couple of years ago, someone bought those plastic pumpkin buckets and put them over the lanterns in front of the garage. Pretty soon others started. Now the whole street hangs pumpkins over the lanterns by the garages. The bottoms are cut out so that they don't collect rain, and so that the lights can still illuminate the ground, but there's this awesome warm glow when you come down the street.

Last week we even noticed that it's catching. The neighbors around the corner are starting to hang pumpkins on their lights too.

Thursday, October 29, 2009

Halloween Ghost Girl

My boss gave me the idea for this card. He was talking about how his daughter's birthday was a month or so ago, but her birthday party kept getting pushed back. They're making it up to her by having a Halloween themed "Boo-lated" Birthday party that she's super excited about.

Almost immediately I thought of this little ghost girl from The Angel Company's Spooky Girls stamp set to go with the boo-lated party theme so I made her up for my boss to give his daughter.

The card uses The Angel Company's Kaleidoscope Girlz paper collection. Copic markers YR02, YR04, G05, E02, E15, E29, R39, RV34 and C1 were used to color the little girl ghost and they go perfectly with this paper.

Tuesday, October 27, 2009

Darling Dragon

This is the last card I'm creating from The Angel Company's Spooky Boys stamp set. There is a cute little Superman in this set in addition to the one's I've already used recently, but I'm running out of time, so Superman will just have to wait. Besides, I can save him for Father's Day cards or something later, since Superman isn't strictly a Halloween image.

This dragon-boy is colored with Copic Markers Y21, Y26, Y404, YR07, V15, V17, YG03, YG06, E00, E02, E09, E29 and C1. Lots of blending going on here.

The patterned paper panel is from S.E.I.'s eerie alley paper collection. The square eyelets accenting the image on the left are from the Cha Cha Hardware collection and the sentiment is from TAC's Spooktacular stamp set.

Sunday, October 25, 2009

Sweet Cinderella

This sparkly Cinderella also comes from The Angel Company's Spooky Girls stamp set. The paper is one of those pieces that I've had hanging around for years because I never came up with something that I thought would go with it and then it ended up on the bottom of the stash. I figured it was perfect for this since it looks like tile to me, and Cinderella had to have the floors cleaned before she could go to the ball.

My little girl is colored with Copic Markers E00, 302, Y11, Y15, B00, B32, B34 and C1. The dress, slippers and crown were all accented with the Stardust Clear Glitter Pen. It's one of my favorite tools because it puts instant shine wherever you want it without drying time. I used dots of Waterfall Stickles to complete the shine that befits any princess.

Thursday, October 22, 2009

Spooky Vampire

This card is another one I made with The Angel Company's Spooky Boys stamp set from Inspiration Avenue. I colored the little Dracula with my E00, E15, 329, YR07, YR09, C1, C5 and C9 Copic markers. I used the blender pen on the E00 to help make the face look like he had white make-up on.

The patterned paper is SEI from the eerie alley collection and the punches are the Bats corner punch and Drippy Goo border punch from Martha Stewart.

Tuesday, October 20, 2009

Cutie Patootie Frankenstein-ette

This little girl from The Angel Company's Spooky Girls stamp set was a lot of fun to color. I couldn't wait to match her up with the SEI paper from eerie alley with all it's colors and layered boxes. She's colored with Copic markers E15, E29, YG03, YR07, YR09, V15, V17, C1,C5 and C9. I love how her black hair turned out. It's got such depth.

Sunday, October 18, 2009

Mummy-man

Another Halloween card! I'm on a roll. This one is made using The Angel Company's Spooky Boys stamp set. These little guys are so cute. They just beckon me to play.

This one didn't take too much coloring. In fact the most time consuming part of this card was tearing the paper for the background. The green dots and pannel are from left-over scraps from when we did the melted crayon background technique at a Stamp With Me Night quite some time ago. The image is colored with Copic markers Y11, Y15, Y17, YG03, B24, E00, E02 and C1 (The YG03 and B24 are very faintly seen under the bandages.

Wednesday, October 14, 2009

Not-So-Spooky Witch


I've got a bunch of Halloween stamps because I think they're so fun, and then I never start making the cards until halfway through October, when it's almost too late.

Here's one I made using The Angel Company's Spooky Girls stamp set from the new Inspiration Avenue magalogue. The paper is from S.E.I.'s eerie alley paper collection. The ribbon is from Cha Cha and Penelope and the Eyelets are from Miss Moxie. The little witch is colored with Copic markers E00, E02, E33, E15, E29, V09, YR04 and YR09.


I thought black might be a little too stark for a little girl witch, so I tried the V09 and think it turned out great.

Monday, October 12, 2009

Pop-up Halloween Card

This is a Halloween card Rita taught us how to make when we were at the cottage a few weeks ago. We all got some practice with some folds and our Copic markers. I love how the shadows on the dirt came out on this card.

This card uses The Angel Company's Spooktacular and Glitter Goblins stamp sets.

Front of card:


Opened card:


A little better picture of the inside of the card:


Special thanks to my husband who stopped watching Monday Night Countdown and practicing guitar for his official band practice tonight to hold the card open for me.

Sunday, September 27, 2009

Wedding Card

This is the card that I made for my sister and her new husband for their wedding yesterday.

I got the idea from my friend Rita when we were up at the cottage.

The background is pink paper embossed with the Flourish Impressabilities template and the bride and groom were cut on the Cricut using the Wedding Mariage cartridge. The pink "ribbon" tied into the black netting is actually a piece of fabric from the bridesmaid dress my Mom made.

Saturday, September 26, 2009

Wedding Day!

Today is the day my sister is getting married. It's a small, low-key, family affair and we did a lot of the stuff ourselves.

Here are the invitations we created for the wedding.


The picture doesn't really show up well; her colors are pale pink and white and the pink of the stamping just didn't scan well. The invitations are 4 1/4 x 8 1/2 and use a couple of Cuttlebug folders as well as The Angel Company's Forever Family stamp set.

Wednesday, September 23, 2009

Another Kaleidoscope Boyz Birthday Card

Once I started playing with Kaleidoscope Boyz and found the Copic markers that matched, I went to town! Here is the second card I made using the same paper, stamps and markers as my post from Saturday.

Saturday, September 19, 2009

Colorful Birthday Cards

After all those feminine birthday cards I did in July, I figured I needed to hone my skills at creating cards that could be either masculine or neutral. This is a card I made using the Kaleidoscope Boyz paper collection. The image is from TAC's retired Keep Smilin' set. I masked the gift and stacked it, then colored it with Copic markers. RV04, Y17, YR07, G07 and B24 Copic colors match Kaleidoscope Boyz perfectly! I also did an envelope that matched.

Wednesday, September 16, 2009

Another Sympathy Card Inspired My Card in the New Catalogue

Well, the Expo is over and I'm headed off to the cottage with the Diamond Island Angels. I should have some awesome new projects to share with you when I get back. But until then, I thought I'd share my final sympathy card (hopefully for a while).

This card was one I made last year, but never posted. It's made with paper from the Angelee collection, and uses the Butterfly Bits stamp set and the With Sympathy set.


This card actually inspired the one I made for The Angel Company and sent in during the catalogue call. My second card uses the Catelynne paper collection and was actually streamlined from the original - making it a simpler card to make, but with the same effect. TAC chose it to represent the Catelynne collection and featured it on Page 59 of the current base book catalogue. I'm super proud of this card! It's a great honor to be featured three catalogues in a row.

Saturday, September 12, 2009

Candy Tin Project


Tomorrow (Sunday) at the Tinley Park Expo, our make and take will be decorating candy tins. This is a sample of one that I did up to keep my business cards from getting crumpled in my purse, but there will be other styles available at the booth.

These little tins are great for holding little brag books in your purse, or just pictures that you don't want to get crushed. They're also perfect for holding gift cards. Can't you see this little tin as a package topper? I also know someone that does nothing but purchase gift cards for all the nieces, nephews, and grandkids in her family. At Christmas, instead of having presents under your tree, can you just see having the tree (large or small) decorated with these little tins? Then the kids could just pick out the tins with their names on them right from the tree when they come to visit.

My tin is made using paper from the Amberly Grace collection, stamped with Aegean Blue, Jumbo Java and Sahara Sand VersaMagic Ink, and uses the Go Abroad stamp set.


Friday, September 11, 2009

Perfect Pearls With Gratitude

I really am digging these new Perfect Pearls. Here is another card I made using the new Pewter and the Impressabilities Flourish template. The background paper started out as a test, and originally I wasn't all that happy with it all by itself. I had another one that I liked better and saved it for this card, but when I used the one I originally liked, it lacked something that this background had - a darker edge that I brushed on after I misted the original sheet.


This time, I combined the Pewter background with cardstock from the Cha Cha and Amber Grace paper collections, along with ribbon from Amberly Grace and Eyelets from Cha Cha. Normally I wouldn't have thought about combining these two collections, as they are completely different in color and style, but in this case, the solids really went together with the red complimenting the charcoal perfectly.

The sentiment is from the Hostess Level C set Label Lingo lined with the R46 Copic marker.

Here's a close-up of the card:


The background on this really gives the illusion of texture, and has some nice shimmer. If you're in the Chicagoland area, come on out to the Tinley Park Expo tomorrow and/or Sunday and check it out in person.

Wednesday, September 9, 2009

NEW Perfect Pearls to Love!

I'm not sure how new these colors are, but they're new to me, and my love of Perfect Pearls has deepened! Good thing I have a friend that can feed my addiction at a discount! She surprised me last week with two new colors of Perfect Pearls. The first ones are "Aged Patina". Awesome colors! Heirloom Gold, Blue Patina, Pewter and Green Patina. I played with them late one night and immediately e-mailed my friend to say that the Pewter was absolutely gorgeous!

For this card, I used my pearls in several ways. First I ran the background through the Big Shot with my Flourish Impressabilities template. Then I rubbed the Perfect Medium (that comes with the Perfect Pearls) all over the card. I brushed on the Blue Patina and set with a mist of water. Talk about a perfect match for The Angel Company's Amberly Grace paper collection, which I also admit is my favorite of the bunch!

The stamp set I used is TAC's retired Wedding Wishes. The bride and groom are colored with Copic markers, but highlighted with the Blue Patina and Pewter (separately) mixed with water to form a thin paint. It gives a nice shimmer to the bodice of her dress and tiara, and to the lapels on his tux and band on his hat.


My friend got us some Perfect Pearls for our booth at the Rubber Stamp and Scrapbook Expo this weekend in Tinley Park. We should be able to offer them at a deal. So come on out and feed YOUR addiction!

Tuesday, September 8, 2009

September Stamp of the Month and Vintage Stamps

The September Stamp of the Month and Vintage Stamp Set have been released from TAC. Here are the flyers for each. If you're interested in purchasing one of these sets just contact me.

TAC™ SOTM
www.theangelcompany.net

TAC™ Promotions
www.theangelcompany.net

Monday, September 7, 2009

Make and Take for Tinley Park Expo

This coming weekend, at the Tinley Park Rubber Stamp and Scrapbook Expo, we will be doing two make and takes. The first one is this great little web book meant to hold your username and password for all the websites you visit.


After just recovering from a computer virus, I felt the worry of my passwords possibly being compromised, but was reassured since I use different ones for every website I visit. (Yes, I was one of those that used to use the same password for everything, but in this age of identity theft and computer hackers, you can never be too careful, and I changed my ways.) I was really happy when someone showed me a little book similar to this so that I had a place to keep all the usernames and passwords to assist my memory.

This book is really easy to make using the Bind-It-All, acrylic covers, paper and tags. We're charging $3, and you'll get some hands-on experience with the Bind-It-All, which is a great tool for making all sorts of personalized books. We'll also have product on hand that you can purchase to make your own little web-books as gifts.

Saturday, September 5, 2009

LOVE these Perfect Pearls!

I've always been a fan of Perfect Pearls. A few years ago, I took a class with Julia Andrus and learned all sorts of neat things you can do with them. I've been hooked ever since.

For the past few Expos, I've been demonstrating Perfect Pearls, and people say "I've had those in my drawer and have no idea how to use them". What??? That's so tragic! Perfect Pearls, mica powders that have built in binders and resins (not to be confused with Pearl Ex which are also mica powders but DON'T have the binders)are super versatile, and leave such a nice shimmer on cards. One of my favorite things to do with them is put a little scoop of Perfect Pearls in a Ranger Mini Mister, add a few drops of re-inker (usually used to re-ink my ink pads) and a bit of water. Then I spray the concoction on my paper, sometimes blocking out a portion of the card with a Tim Holtz Mini Mask like you saw in my "Father's Day Inkspiration" post a few months ago.

This time, I played with a Spellbinders Impressabilities template (the Flourish) that I picked up at the St. Charles Scrapbook show. I ran the paper and Flourish template through my Big Shot. Then I left the template on the paper, and sprayed my Perfect Pearls mixture over it. The lighter background on this card is the sprayed template. The bottom is from a pack of K & Company paper. My sentiment came from Stamping Sensations and the silver butterflies are from some punches I picked up when visiting my friend Rita in Ohio.


Next weekend, September 12th and 13th I will be demoing Perfect Pearls (among other things) at the Rubber Stamp and Scrapbook Expo in Tinley Park. If you're in the area, come on out to the Tinley Park Expo Center on 183rd Street, just East of Harlem. You can shop, see my demo and create various make and take projects. Our make and take on Saturday will be web books, so you can remember your username and password on all the websites you visit, and Sunday we will be decorating candy tins. Look for previews of both the make and takes and cards using Perfect Pearls here during the week.

Thursday, September 3, 2009

More Sympathy

In follow-up to my last post, this is the other card desgin I worked on. It also uses the S.e.i. "Chocolate" collection, my Spellbinders Nestabilities and the Cuttlebug Butterfly die cut and matching embossing template. The sentiment is another one from With Sympathy and the swirl behind it is from Curls and Swirls.